How do I get started?
-

1) Choose a primary MicroPDM module.
This is the programmable brain of the system. You have a choice of either high-side or low-side. The majority of customers choose a high-side module. You can always expand the system later with an add-on module.
-

2) Mount the module
Simply insert the module into our pre-wired Rapid Enclosures, or do it yourself with an ISO 280 box from suppliers like Bussmann, MTA, GEP, TE, Littelfuse, etc. Some even skip the enclosure altogether for space and weight constrained formula and prototype cars.
-

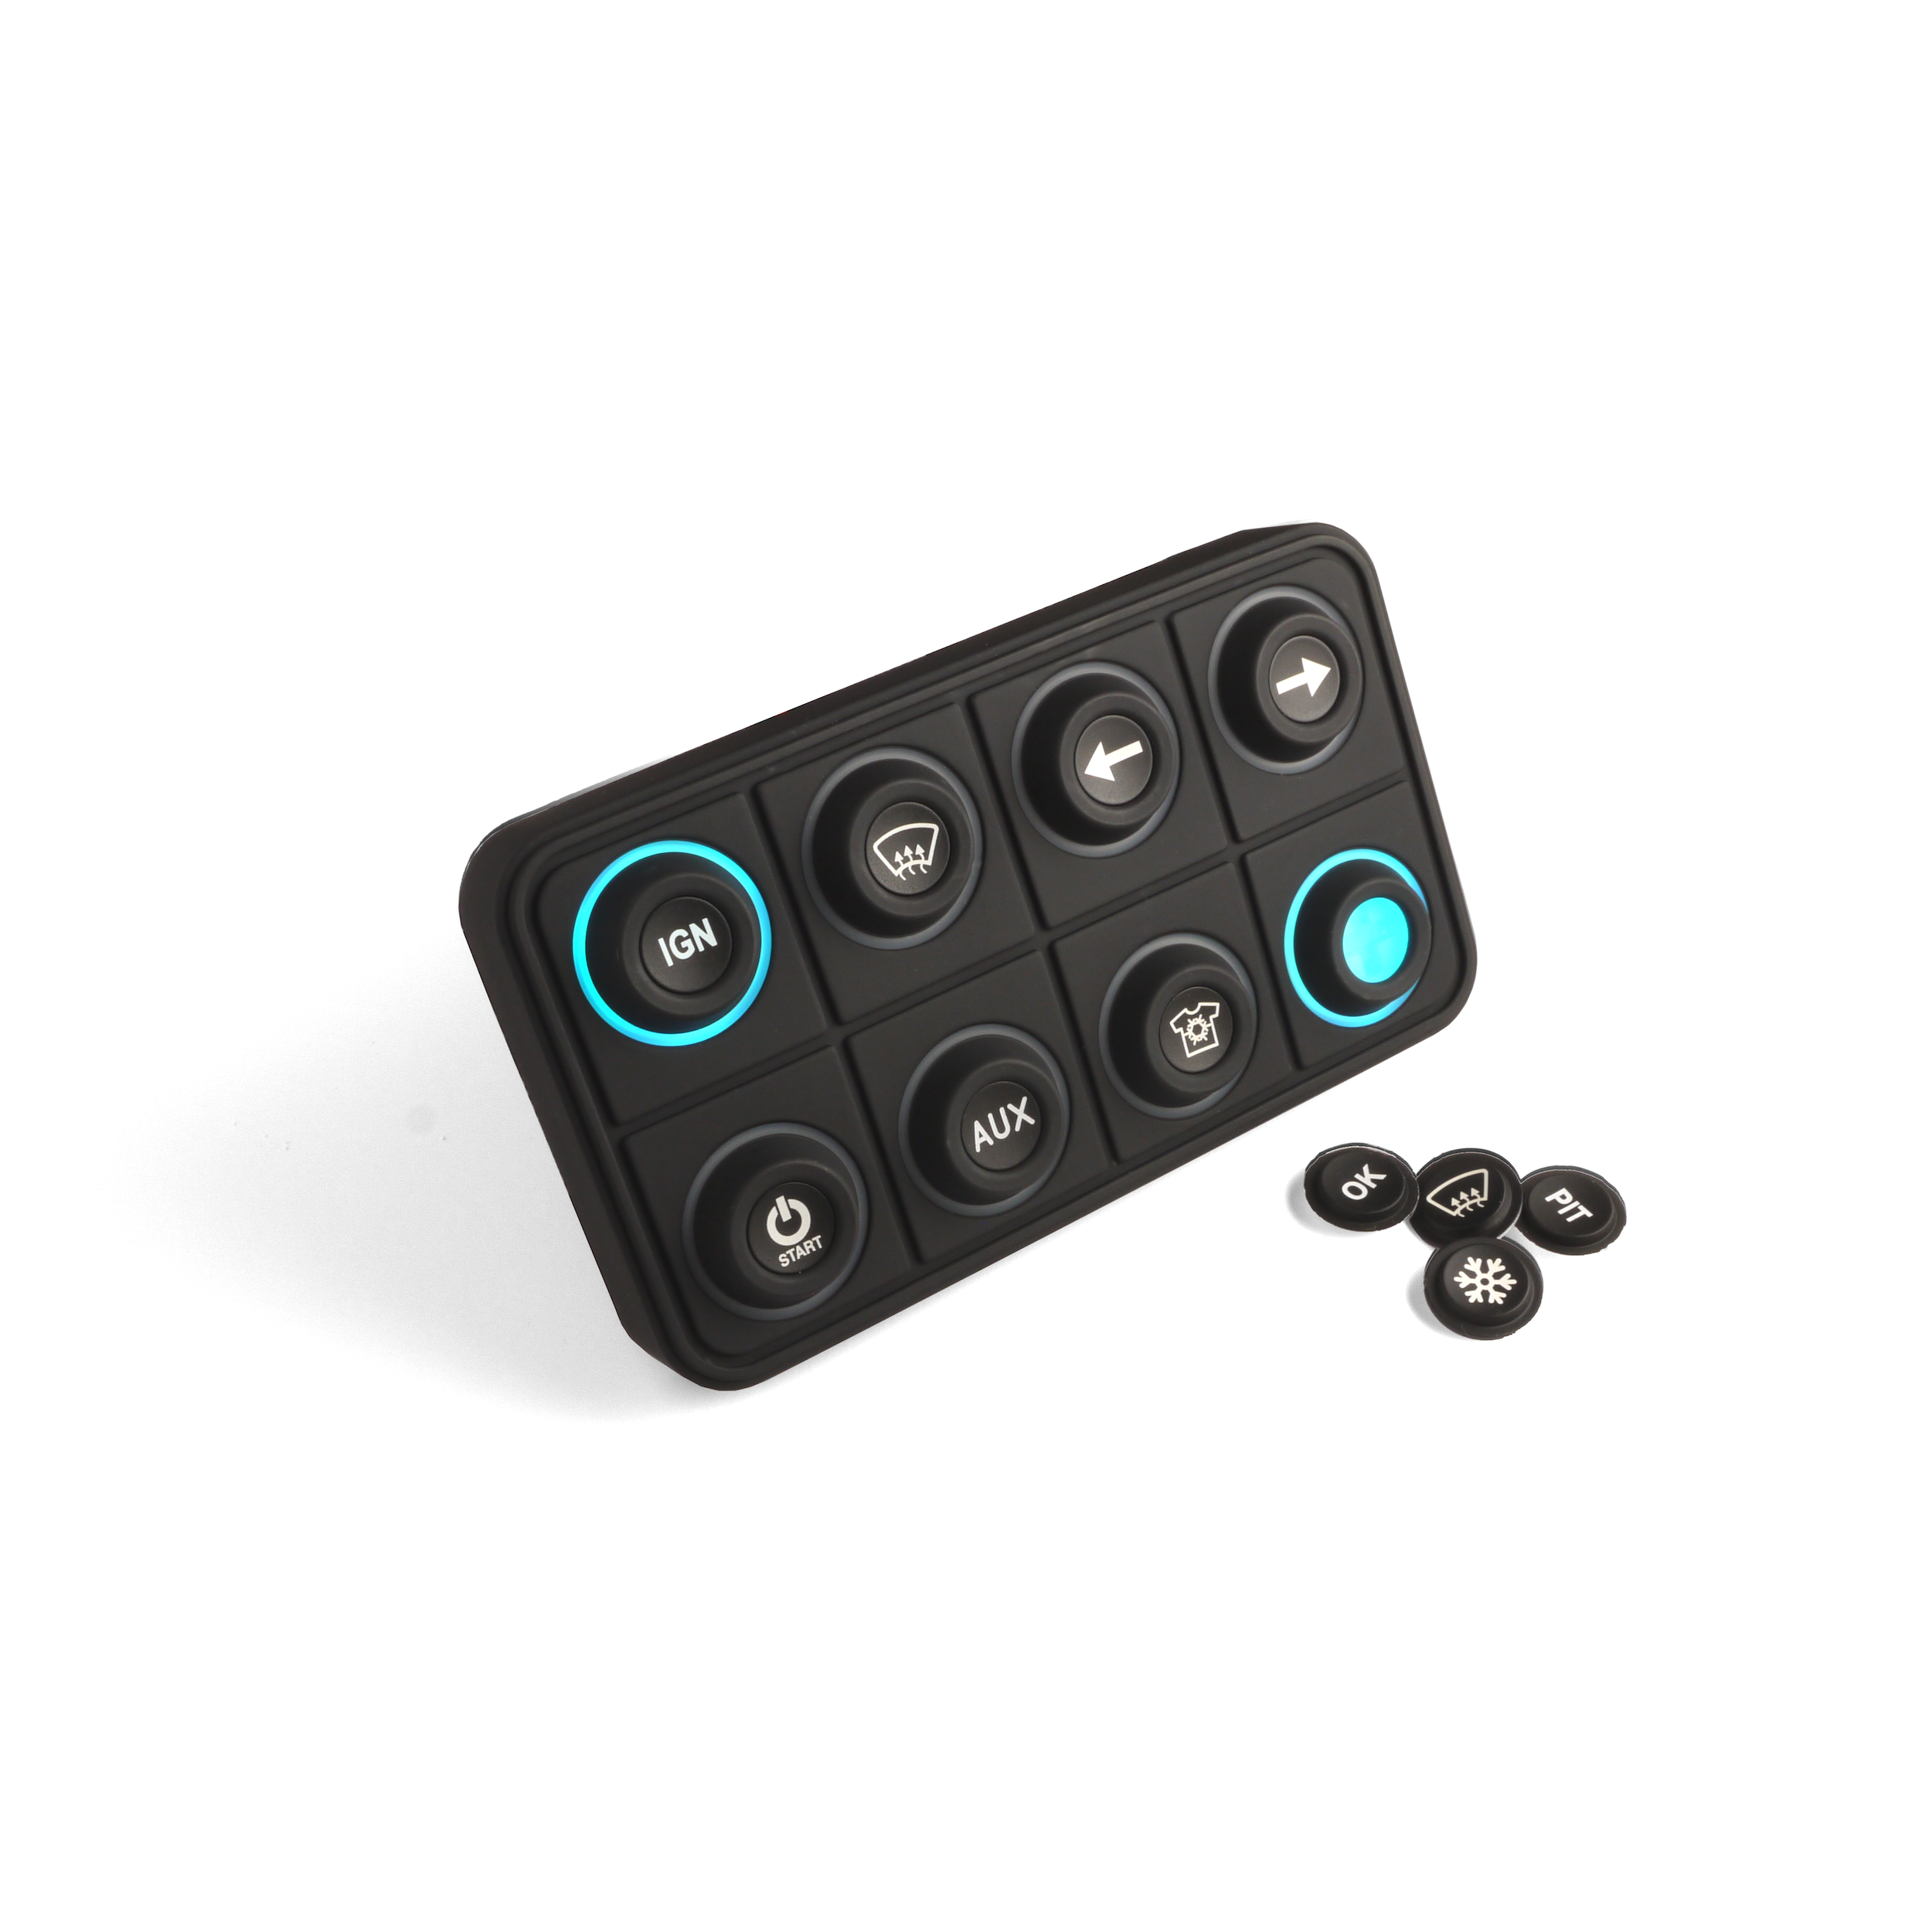
3) Get a Keypad
Choose the size that fits your usage. We can supply a keypad, or you can source one yourself. Just check our User Guide and make sure it’s supported and configured properly.
-

4) Connect and configure
You need to connect 4 wires to your PDM and keypad. Our rapid enclosures and keypad cables make this easy. Once connected, configure the MicroPDM and connect your circuits like fan relays, cool suit pumps, headlight switches, etc.
Okay, I understand the basics. Now what?
-

Automate with CAN
Want to control your PDM from other systems or have the PDM control other systems over CAN? Make sure the MicroPDM, keypad is on the same CAN bus as those other devices. If you know CAN, you already know how to do this.
-

Expand your system
Need to add more outputs? Just wire in an add-on module yourself. Our Rapid Enclosures are designed to daisy chain together for easy expansion down the road. Or, upgrade to solid-state relays for a fully solid-state power management system.
-

Add external control
Want to control your MicroPDM with a steering wheel? The MicroPDM supports the Autosport Labs AnalogX and the ECU Master Switch Board v3 CAN boards natively, so you can control your PDM with external switches located anywhere in the car, even on your custom carbon fiber steering wheel.
-

Win races
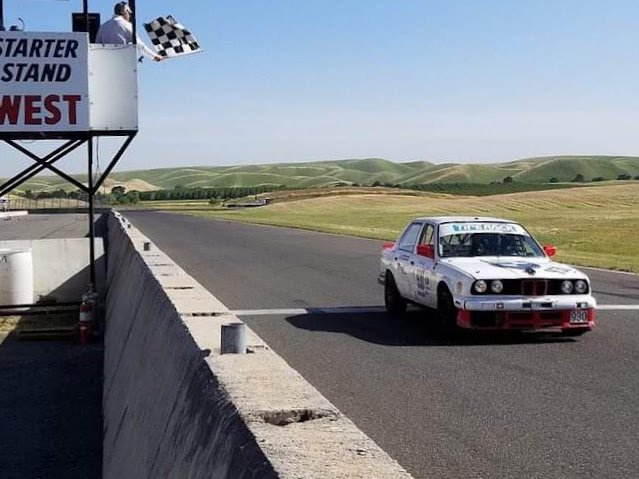
The MicroPDM has powered winners in everything from budget endurance races, to club racing championships, to professional sports cars and prototypes.
